DIY Budget-Friendly Bathroom Renovation - Refinishing Floor and Shower Tile
With a budget of just a few hundred dollars and an outdated bathroom, I began digging for ways to make the space feel fresh again. Truthfully, I wasn’t very optimistic about what I’d be able to accomplish with ~$500 in a space that felt like almost every detail needed attention.
I’m so happy with the way it turned out and I’m excited to share! Disclaimer: the majority of these fixes were quick refreshes, not necessarily the best option for the space. Lots of little bandaid fixes until we have the budget for a full overhaul. Enjoy!
before
after
The most dramatic transformations in the space were refinishing the floor and shower tile (along with all that teal detailing!)
before
after
I used Rustoleum’s Tub & Tile Refinishing Kit in white. It took two coats to cover the old cream color, and three to cover the teal. If you try this yourself, beware: it smells! Make sure to wear a respirator while you paint.
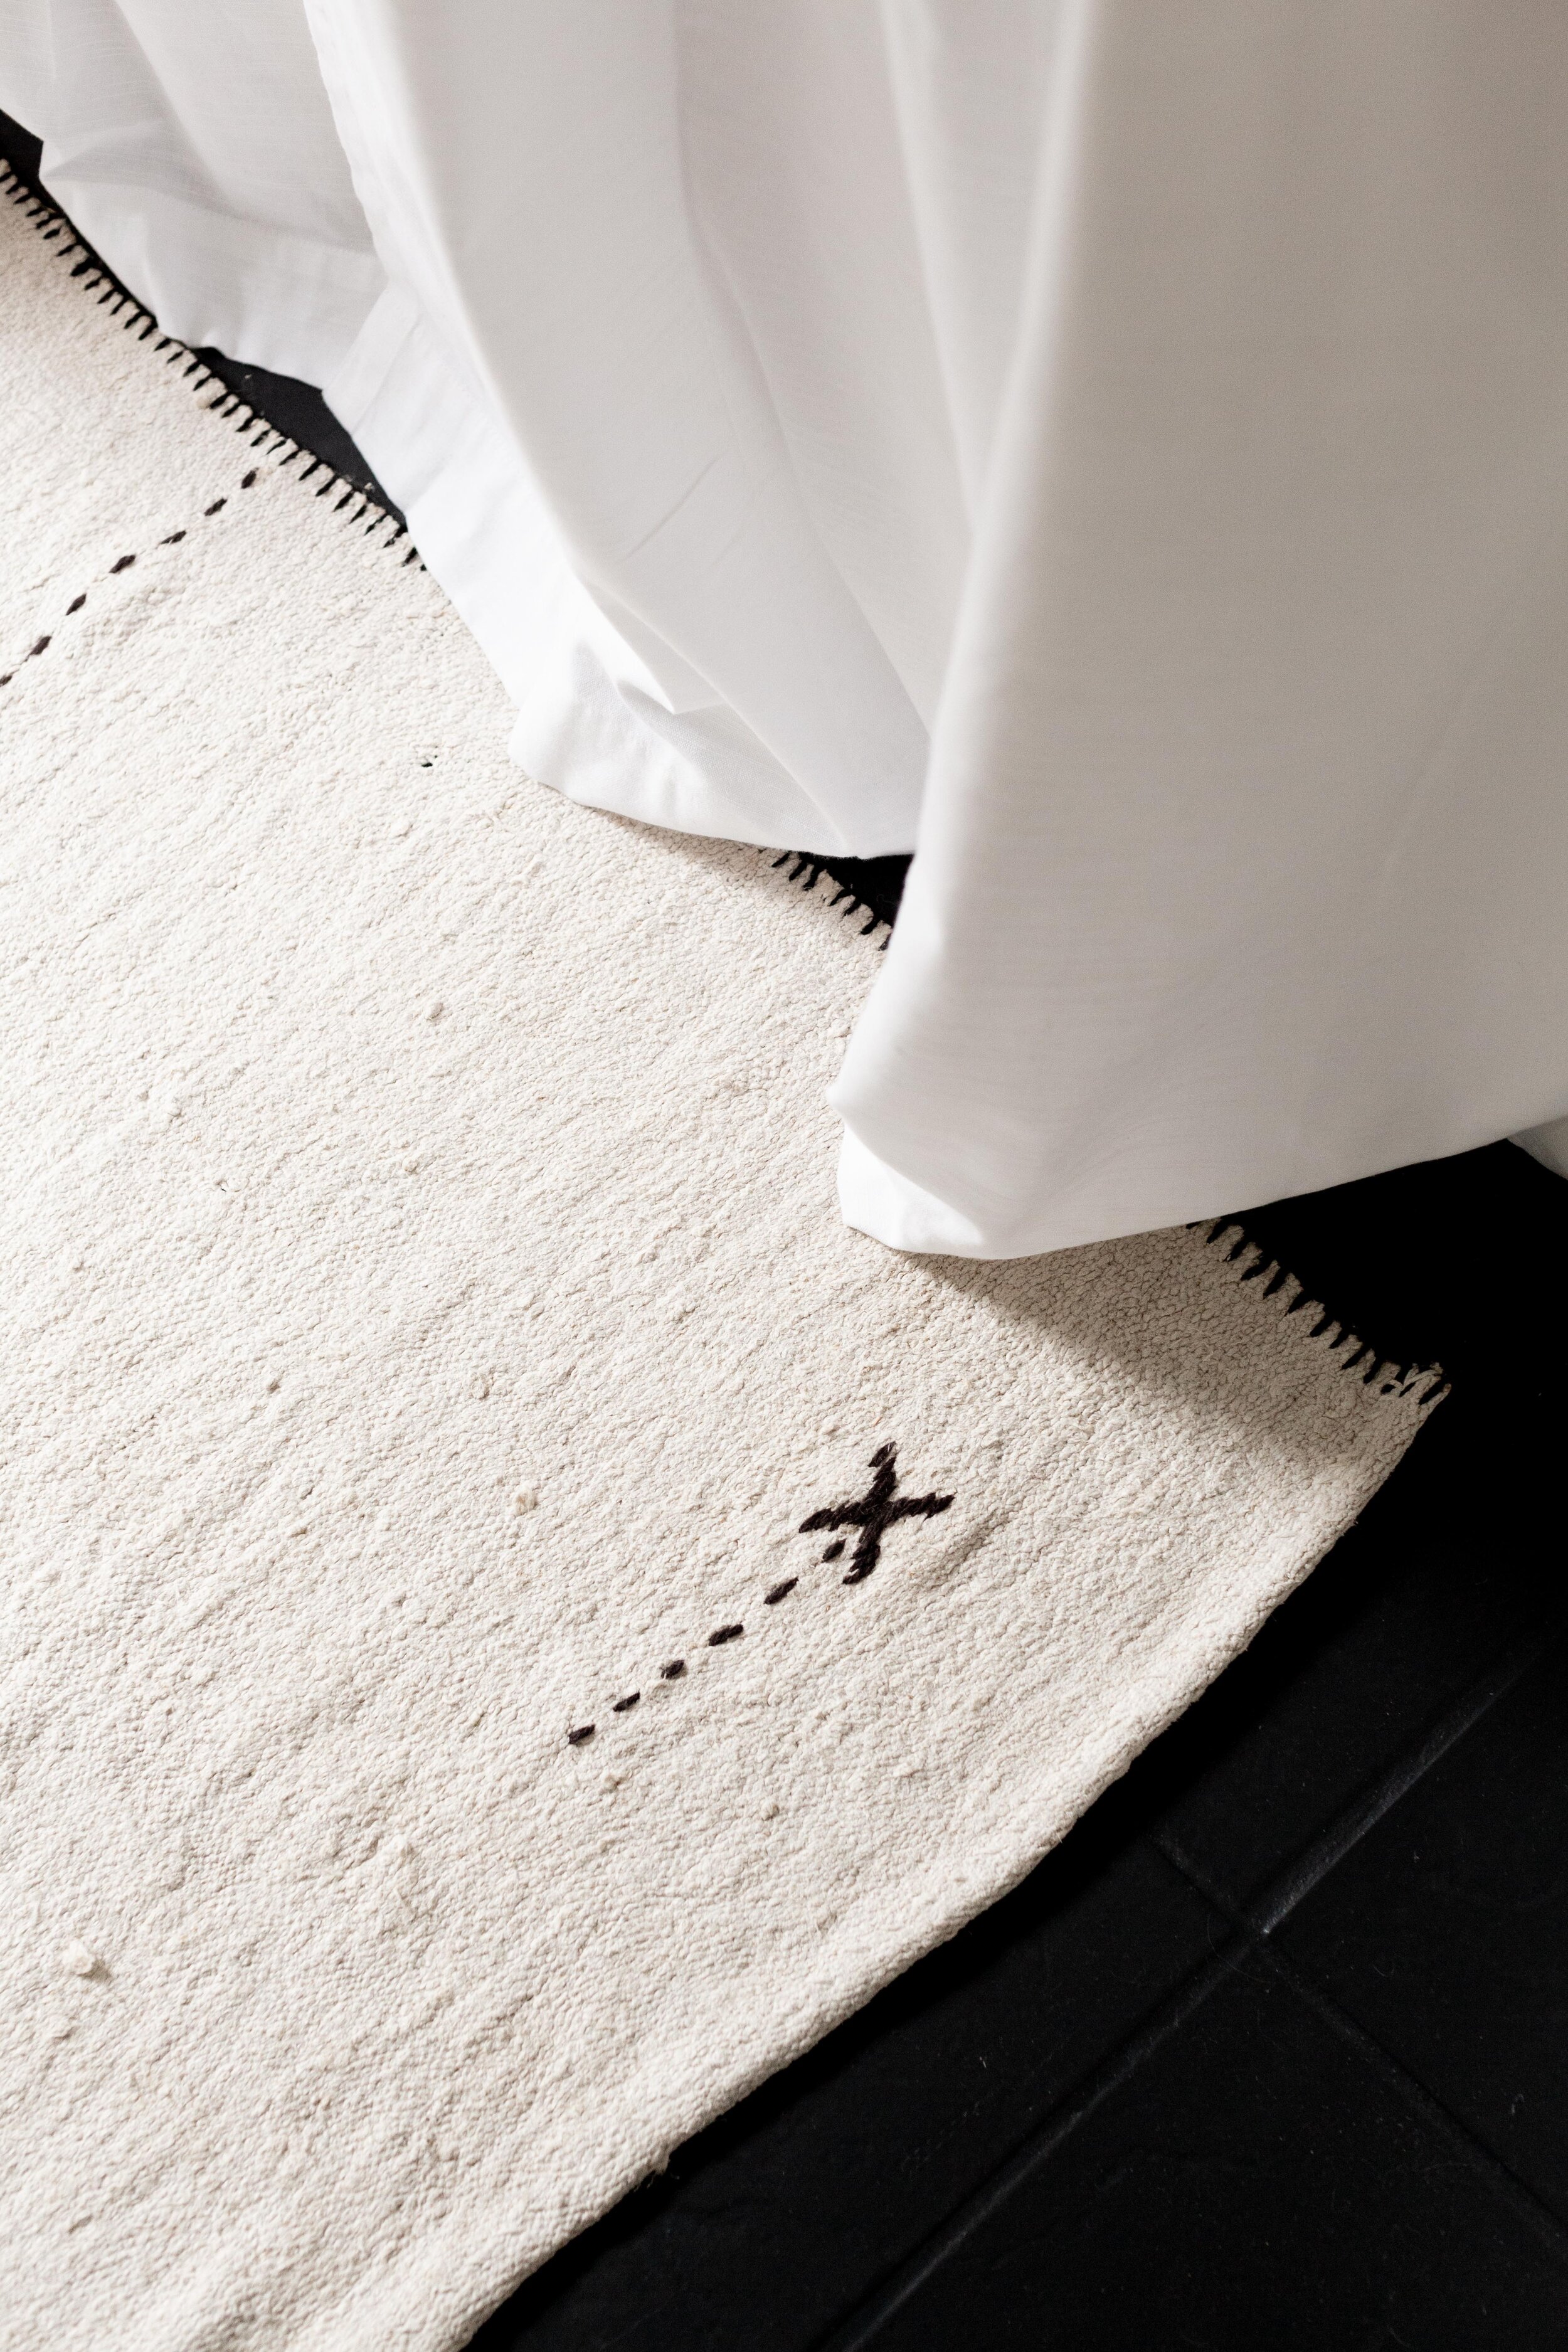
For the floors, I used Rustoleum’s Floor Coating Kit in Matte Black. This process was incredibly simple and works on almost any floor type!
Both the shower tile and floor have held up well over past few months. The only thing I’ve noticed is that when my dog gets the zoomies (which happens surprisingly often, ha!) I have to keep him out of the bathroom or he will scratch the paint.
All in all, I am very happy with the way the space turned out! For just a few hundred dollars, it feels completely transformed! Just another DIY project proving the power of fresh coat of paint!


